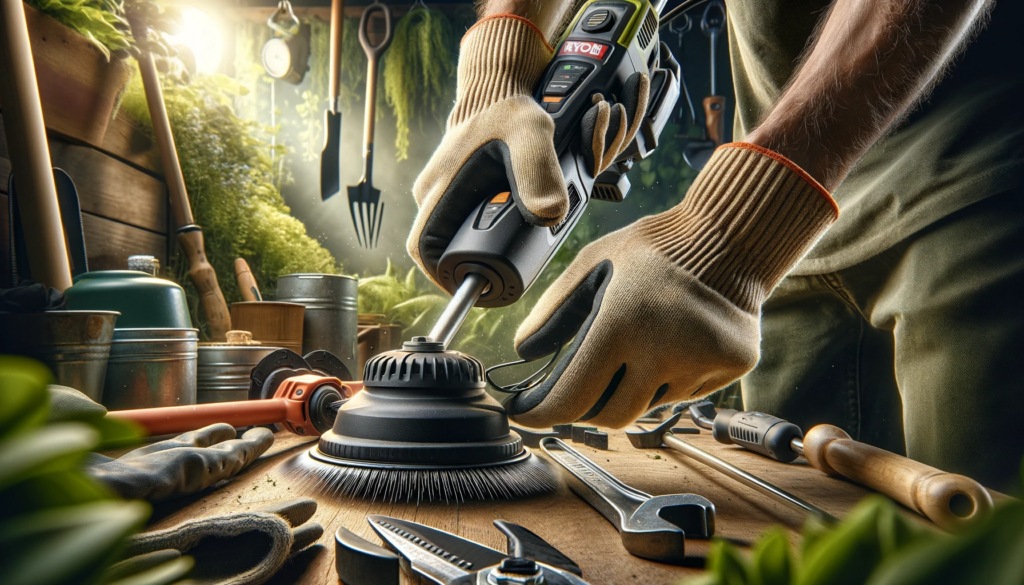
Removing a Ryobi string trimmer head is a task that, thankfully, falls on the easier side of DIY maintenance. Whether you’re a seasoned gardener or a novice just starting, understanding how to perform this simple task can save you time and ensure your trimmer operates efficiently. Let’s dive into the step-by-step process to remove the trimmer head, interspersed with tips to keep your Ryobi trimmer in top shape.
Prepare Your Workspace
Positioning the Trimmer Head: Begin by flipping the trimmer so the head is facing up, resting on the debris shield. This position provides easy access to the parts you need to detach and later reattach. Consider your comfort during this process; choose an orientation that’s easy on your body.
Step-by-Step Removal Process
Removing the Bump Head
Your Ryobi trimmer’s bump head is secured with two quick-release tabs. Locate these tabs on either side of the bump head, press them simultaneously, and pull the bump head away from the trimmer’s body. This step is straightforward but requires a bit of dexterity. You can also explore more about using a string trimmer professionally.
Taking Out the Trimmer Line Reel
With the bump head off, you’ll expose the tension spring and the trimmer line reel. If your maintenance task involves replacing the trimmer line, this is the moment to do it. Be cautious of the spring; it’s prone to popping out unexpectedly. To enhance your skills, learn how to cut grass with a string trimmer.
Reassembly After Maintenance

Putting It All Back Together
Once maintenance is complete, reassemble by aligning the tabs on the head with the corresponding holes on the bump head. Push the bump head back onto the trimmer body until you hear a click, indicating a secure connection. You might encounter resistance due to the tension spring; this is normal.
Testing the Trimmer
After reassembly, it’s crucial to test the trimmer. Power it on and give it a little throttle to ensure the head turns correctly. Also, check the bump head’s functionality to confirm the trimmer line feeds as expected.
Maintaining Your String Trimmer
Regularly maintaining your Ryobi string trimmer enhances both its life and efficiency. Changing the trimming line is a common necessity. For guidance specific to your model, refer to the manufacturer’s instructions. Keeping your trimmer clean after use is essential for optimal performance; your owner’s manual will have detailed instructions.
Conclusion

Congratulations! You’ve learned how to remove a Ryobi string trimmer head. This knowledge not only saves you a trip to the repair shop but also empowers you to maintain your trimmer’s functionality. For more lawn care tips and maintenance advice, explore topics like lawn care basics and the benefits of electric pressure washers.
Remember, maintaining your garden tools, like the Ryobi string trimmer, is key to keeping your lawn pristine. Dive into mulching mower maintenance and explore the pros and cons of mulching leaves to enhance your gardening knowledge. And if you’re wondering about specialty tools, find out if a reel mower can cut tall grass for those precise cuts.
Equipped with this knowledge, you’re ready to tackle garden maintenance with confidence. The weeds won’t stop growing, but now, neither will your ability to keep them in check. You might also be interested in Greenworks 40V 17-Inch Cordless Lawn Mower or American Lawn Mower Company 50514 for efficient lawn care.
Similar Lawn Mowers:

