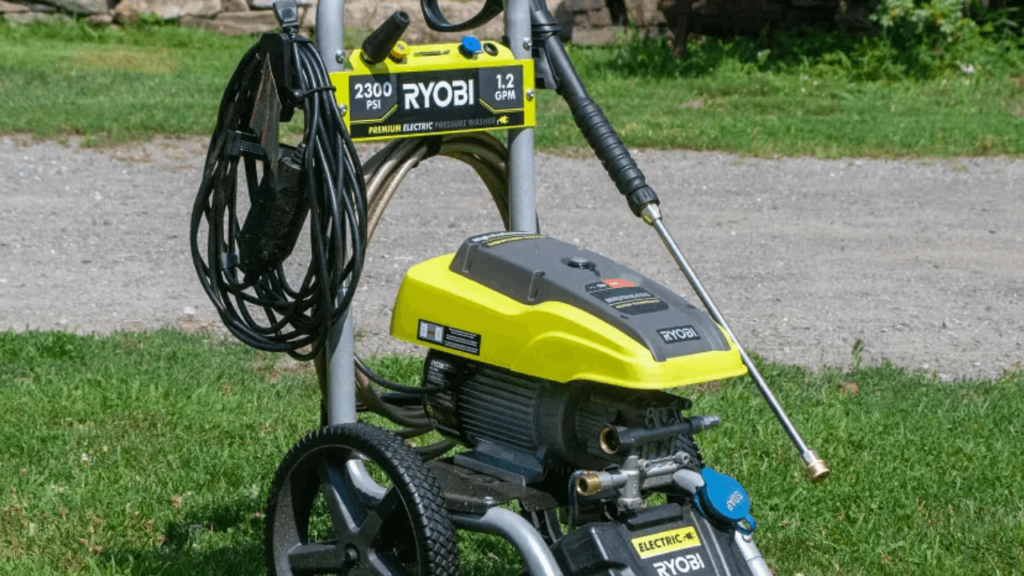
Setting up an electric pressure washer might seem daunting at first, but with the right guidance, you’ll have it up and running in no time. This guide is designed to walk you through each step, ensuring a safe and efficient setup. Remember, maintaining your outdoor space is crucial for its longevity and aesthetic appeal, and tools like electric pressure washers are a significant part of that maintenance. Let’s dive into the setup process.
Step 1: Connecting the High-pressure Hose
Your electric pressure washer comes with a high-pressure hose. This hose is crucial as it connects the wand (or gun) to the pressure washer unit itself. Ensure that the hose is securely attached to both the wand and the pressure washer to avoid any leaks or pressure issues during use.
Step 2: Attaching the Garden Hose
Water supply is next. For this, you’ll use a standard garden hose. Connect one end to an outdoor spigot or water faucet and the other to the water inlet on your pressure washer. Tightening the connections at both ends is crucial to prevent leaks. Properly attaching your garden hose ensures your pressure washer has a steady, uninterrupted water supply, which is vital for its operation. For more on outdoor maintenance and care, explore our detailed guide on lawn care.
Step 3: Setting Up the Spray Gun/Wand
Electric pressure washers come with a spray gun or wand, usually in two pieces. Connect the extension or lance to the spray gun and lock it in place by twisting. Attach the high-pressure hose from Step 1 to this assembly, ensuring all connections are tight. With interchangeable nozzle attachments, you can easily switch between different spray patterns to suit your cleaning needs.
Step 4: Power Connection
Modern electric pressure washers need to be plugged into a power outlet. These devices often include a GFCI (ground fault circuit interrupter) to prevent electrical accidents, especially important when water is involved. Ensure your power cord is fully unfolded and connected to an outdoor GFCI outlet. If needed, use an extension cord as specified by the manufacturer’s instructions. Safety is paramount, so ensure the GFCI indicator is active before use. For more insights into electric pressure washers, check out the best electric pressure washers guide.
Step 5: Turning on the Water
Before activating your pressure washer, turn on the water at your spigot or faucet where the garden hose is connected. This step is crucial to prevent damage to the pressure washer’s pump by ensuring a steady water flow. Keep the water source active throughout your cleaning session.
Step 6: Starting the Electric Pressure Washer
Now, press the ON, START, or RUN button on your electric pressure washer. You might need to wait a few seconds for the water pressure to build up. Pulling the trigger on the spray gun releases a powerful stream of water, ideal for cleaning. Releasing the trigger stops the flow, allowing the high-pressure pump to rest. Some models stay on to cool down the motor, especially those with brushless motors.
Maintaining Your Outdoor Space

Electric pressure washers are an excellent tool for keeping your outdoor areas clean and well-maintained. Whether it’s removing dirt from your patio, cleaning your driveway, or even washing your car, the right pressure washer can make the job much easier. For more tips on outdoor maintenance, including lawn care and the benefits of mulching, visit our pages on why mulching mowers are beneficial, the pros and cons of mulching leaves, and how mulching blades work on leaves.
Conclusion
Setting up your electric pressure washer correctly is essential for its performance and longevity. By following these steps, you’ll ensure your pressure washer is ready to tackle any cleaning task. Remember, regular maintenance of your outdoor space not only enhances its appearance but also contributes to its health and vitality. Happy cleaning!

